Custom dashboards
In this topic:
- Viewing a custom dashboard
- Creating a custom dashboard
- Adding to a custom dashboard
- Sharing a custom dashboard
Viewing your custom dashboards
To view your custom dashboards:
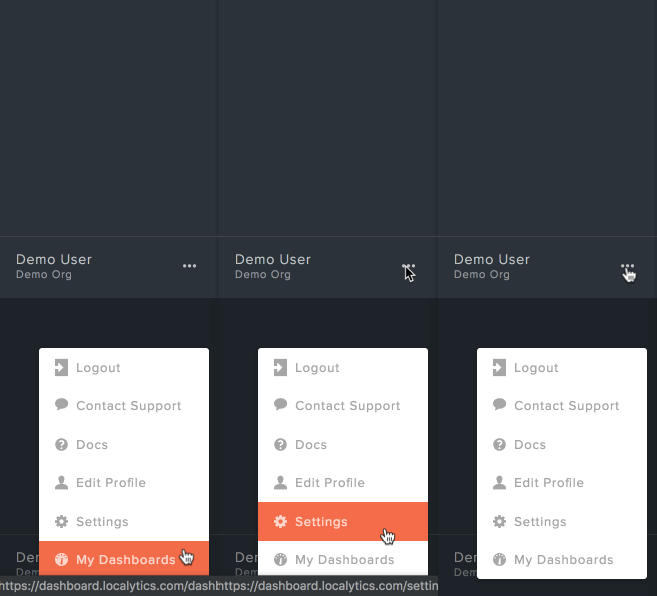
- At the bottom of the left pane, select the ellipsis (...) next to your name to open your account menu.
-
Select My Dashboards.
-
At the top of the page, select the Dashboards drop-down list, and then select the custom dashboard to view.
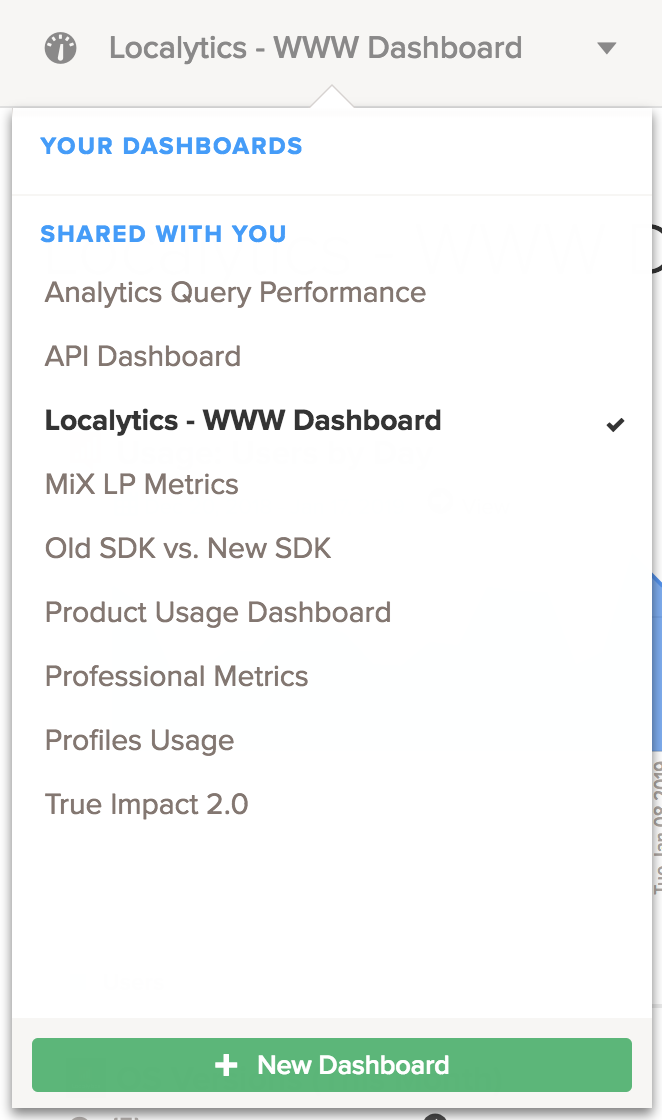
If you have created dashboards, they are listed under Your Dashboards; if your team has shared dashboards, they are listed under Shared With You.
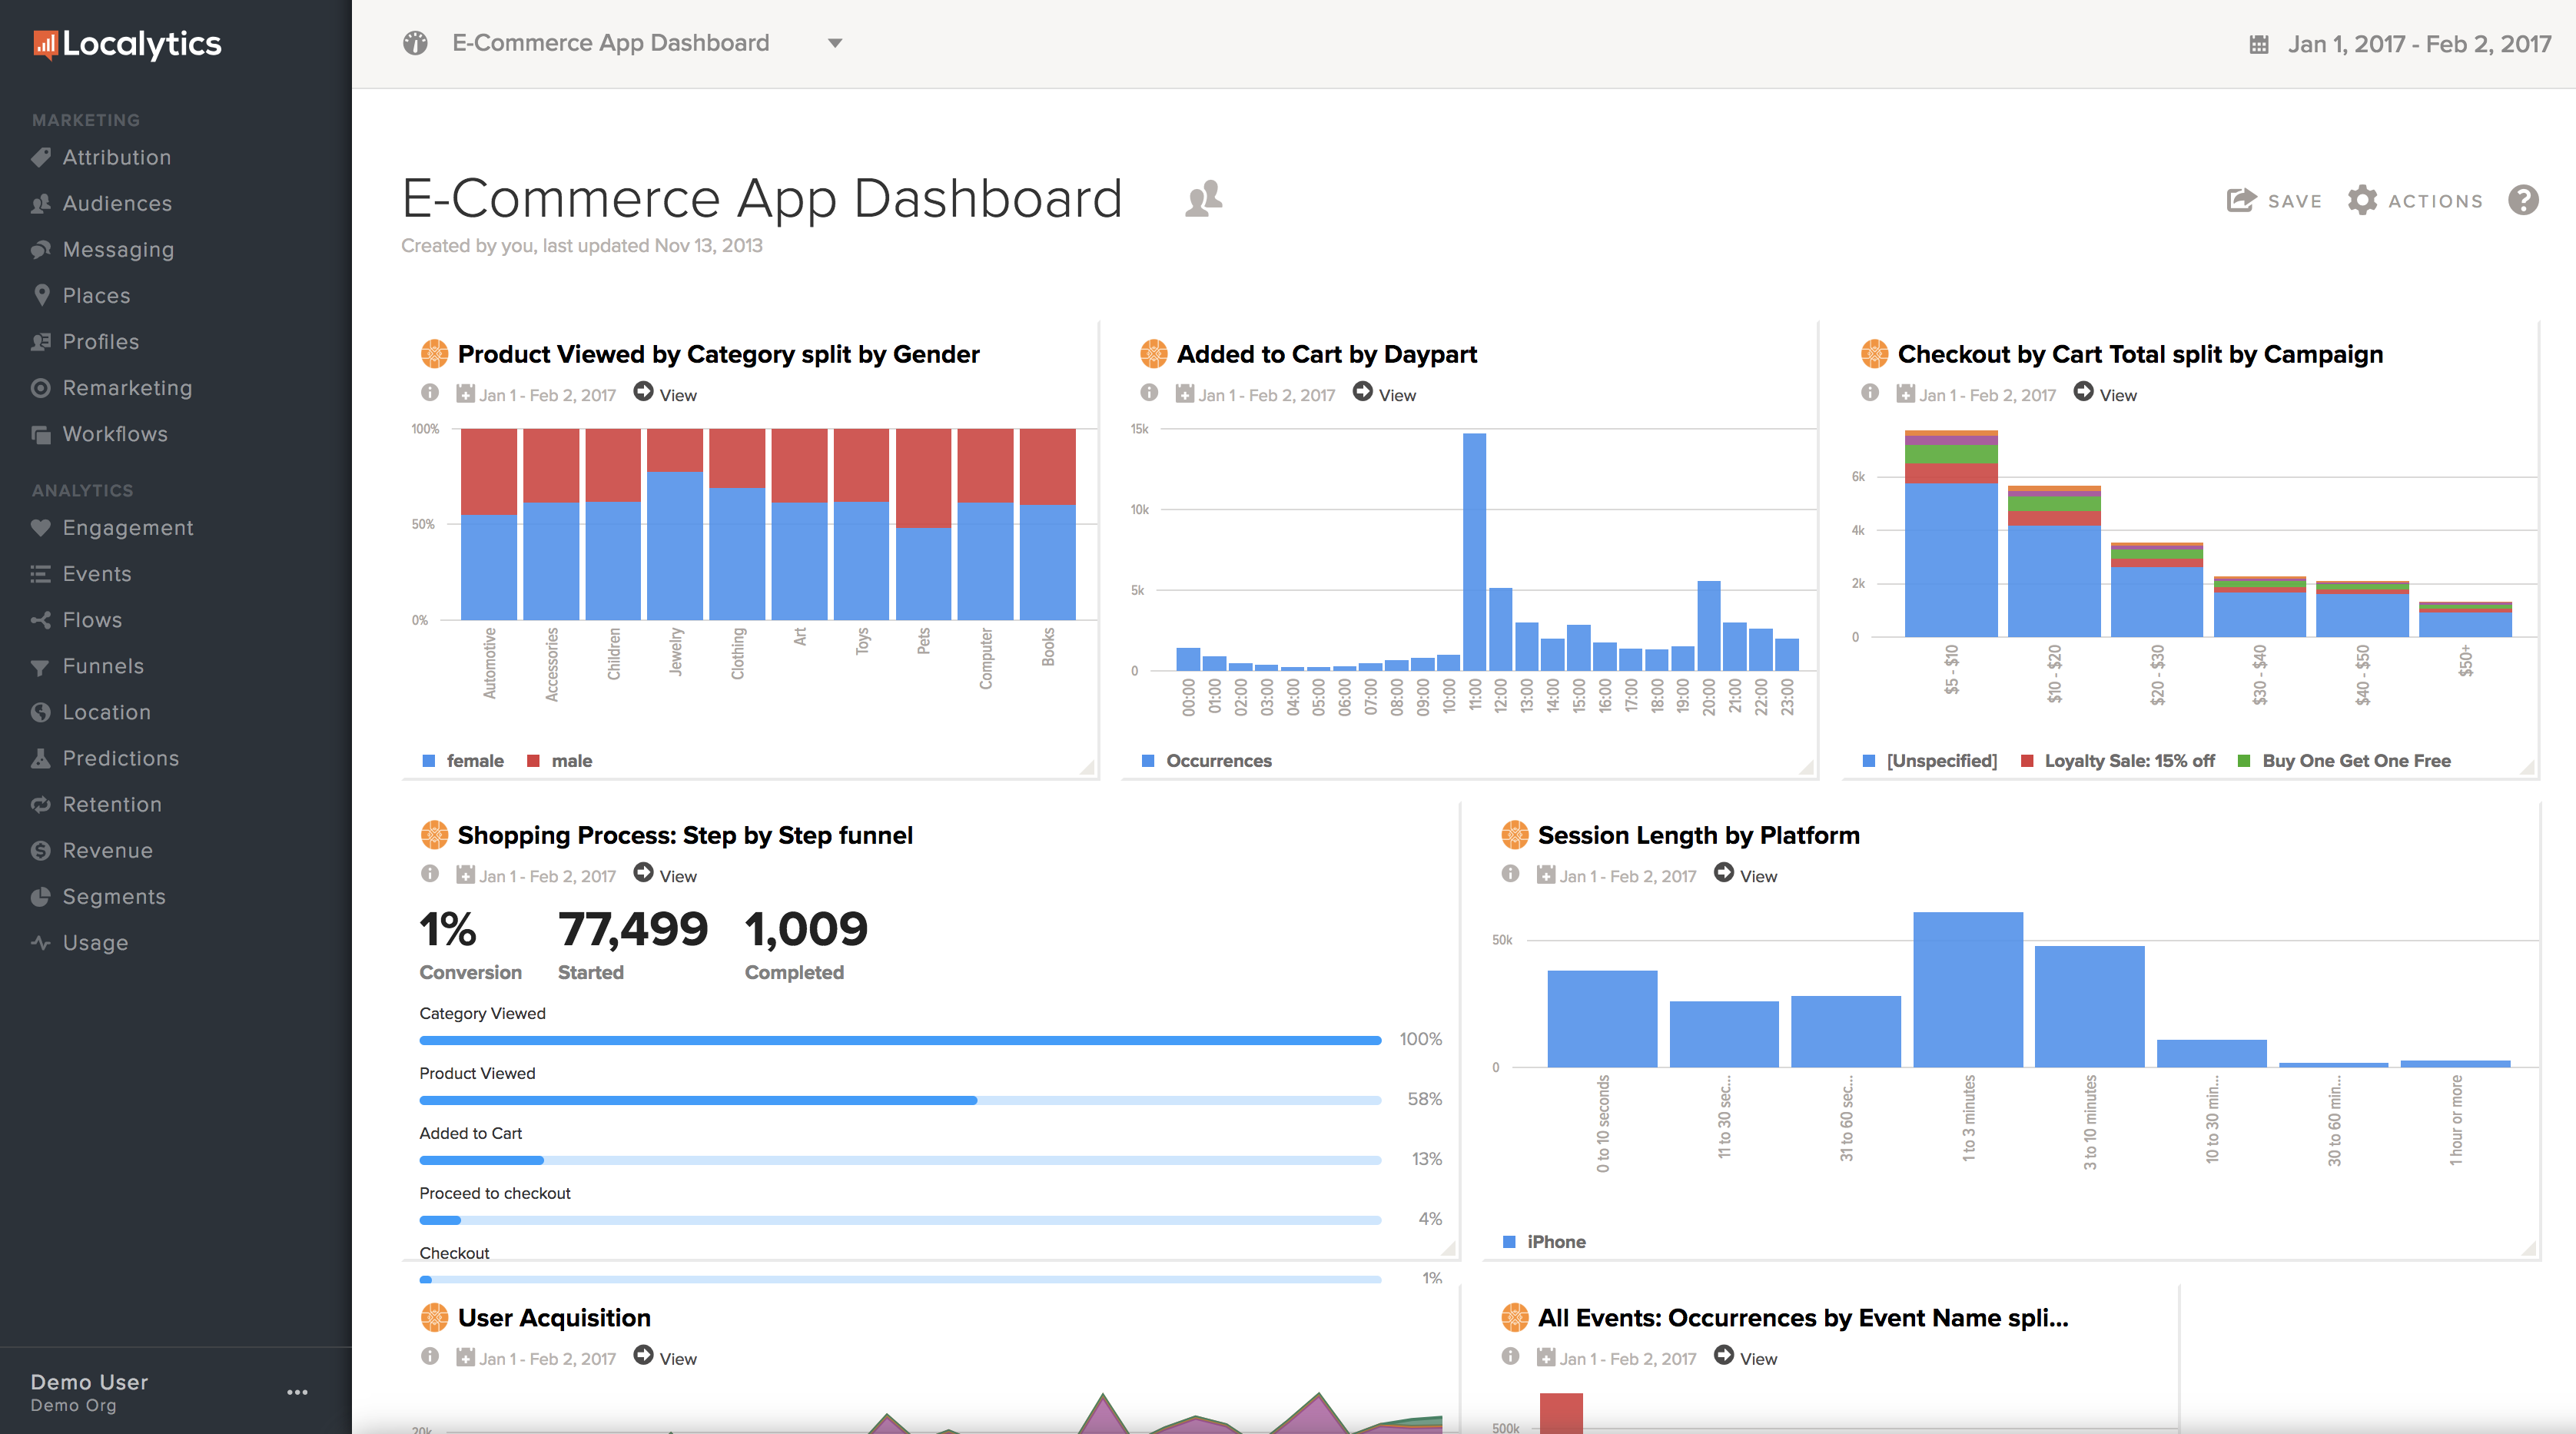
Tip: If you change the date range at the in the upper-right corner, the new date range applies to all component charts within the dashboard.
Creating a custom dashboard
To create a new custom dashboard:
- At the bottom of the left pane, select the ellipsis (...) next to your name to open your account menu.
-
Select My Dashboards.
-
At the top of the page, select the Dashboards drop-down list, and then select + New Dashboard at the bottom of the list.
<
A blank dashboard, with the default name New Dashboard, opens on the page.
- To change the dashboard name, point to New Dashboard. A blue editing pencil appears. Select New Dashboard and edit the dashboard name.
- Follow the instructions on the page to add different charts and metrics to your new custom dashboard.
Adding to a custom dashboard
To add a chart or table to a custom dashboard:
- In the left pane, navigate to a dashboard with a report you want to add to a custom dashboard.
-
In the upper-right corner of the report, select Save and then select Add to Dashboard.
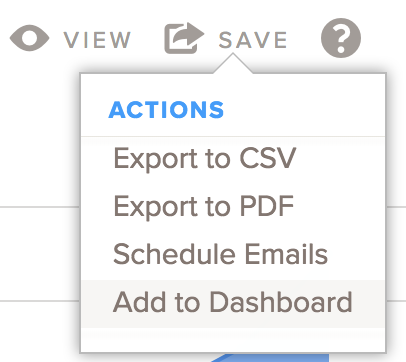
In the add to Dashboard dialog box, you see the report type and list of filters, if any.
- To change the report title, select the Report Title field and enter a new title, which will appear on the custom dashboard.
- Select an existing dashboard or create a new dashboard:
- Select Existing Dashboard, and then select the custom dashboard name from the drop-down list.
- Select New Dashboard, and then enter a name for the new custom dashboard.
- When you are done, select Save.
Sharing a custom dashboard
You can make custom dashboards visible to specific team members or to your entire organization.
To share a custom dashboard with other users:
- At the bottom of the left pane, select the ellipsis (...) next to your name to open your account menu.
- Select My Dashboards
- At the top of the page, select the Dashboards drop-down list, and then select the custom dashboard to view.
- In the upper-right corner, select Actions and then select Sharing Settings.
- To share your custom dashboard:
- To share your custom dashboard with the entire organization, select Everyone.
To share your custom dashboard with selected other users, select Custom and then select individual teammates from the Users drop-down list.
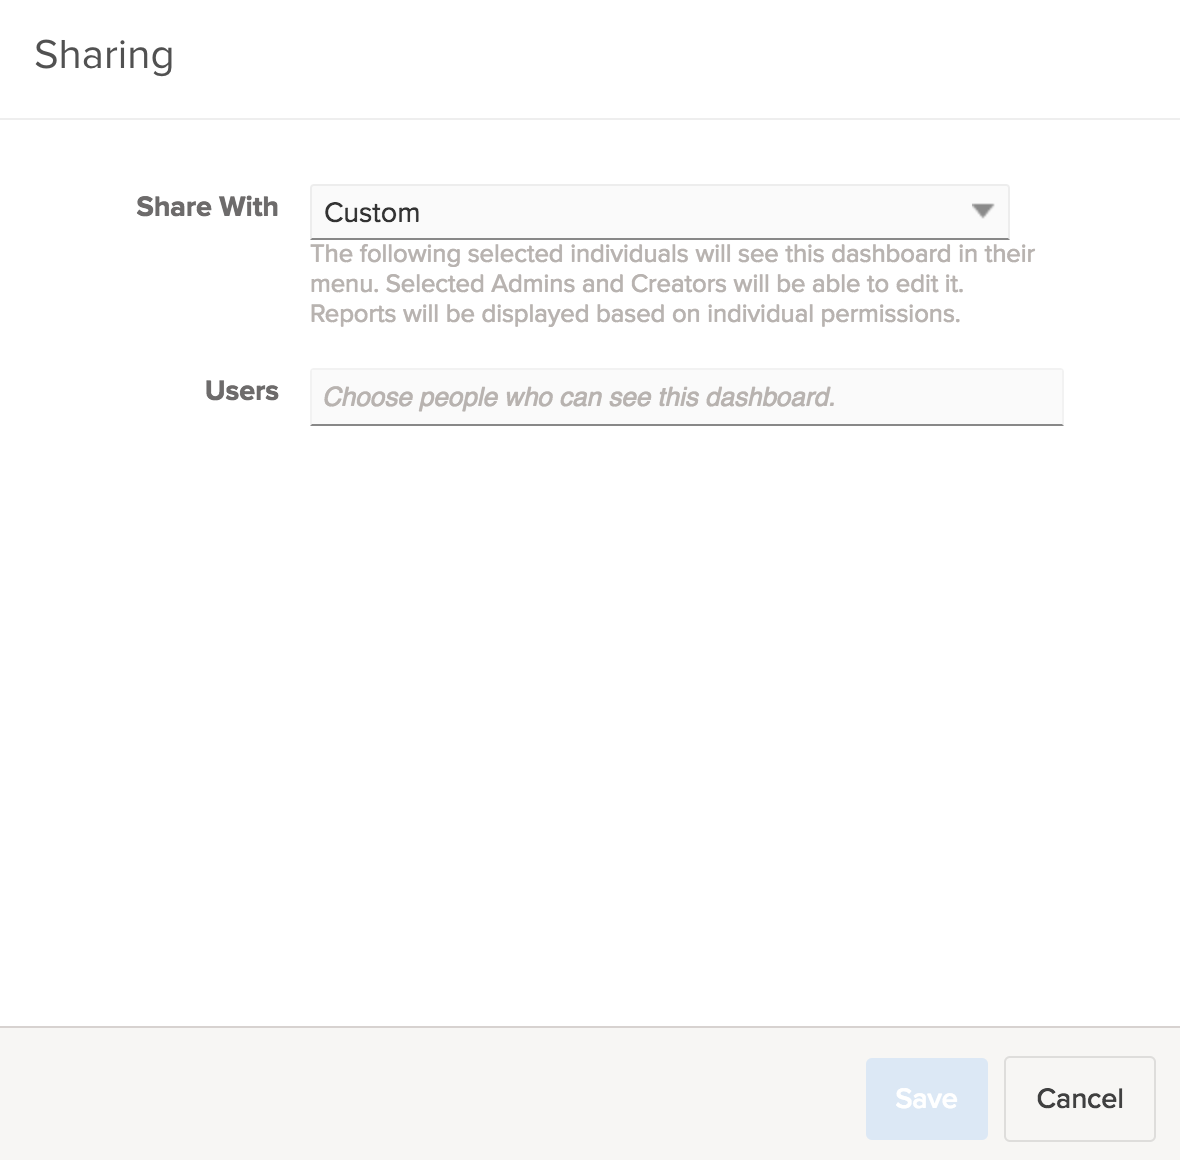
Note: Users who have Admin or Creator level permissions are able to make edits to custom dashboards that have been shared with them.
- When you are done, select Save.